- August 4, 2018
- Posted by: A-1 Scuba Diving And Snorkeling Adventures
- Category: Blog

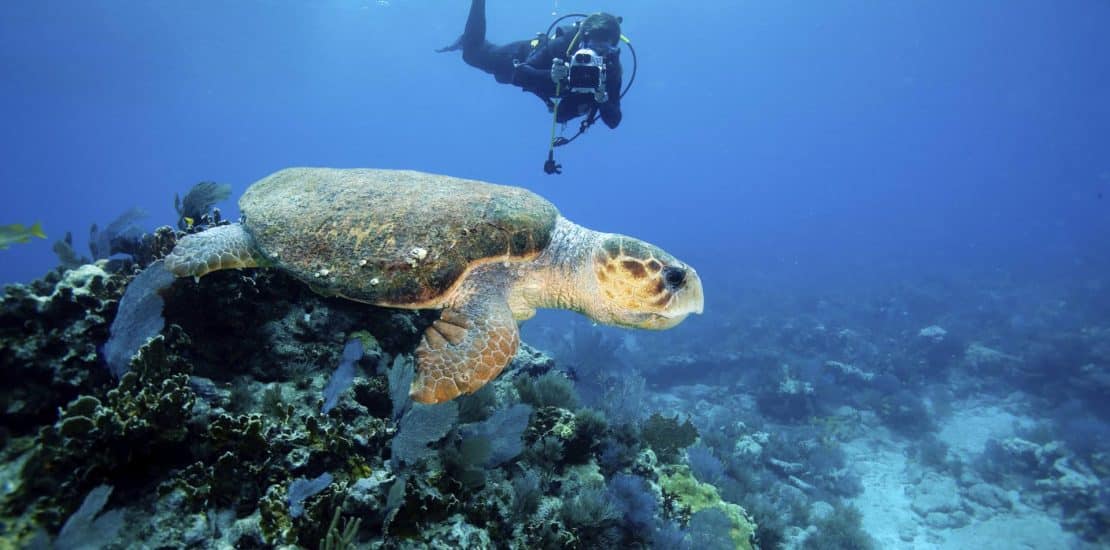
Underwater photography is one of the most popular diving activities, and the recent rise of digital underwater photography has made it more fun than ever before.
There are two PADI underwater photography courses that you can enroll in. The ‘PADI Underwater Photographer’ training course is more of a traditional course designed for conventional film equipment. The ‘PADI Digital Underwater Photographer’ course gets you going immediately with today modern digital equipment, whether you use a point-and-shoot camera or a more sophisticated camera like the pros use, like a D-SLR.
When getting started with digital underwater photography here are some useful facts.
- Underwater photographers many times use an external strobe as a way to add color to their pictures.
- Water tends to absorb colors like orange, red, and yellow. This is why your photos that you take underwater will turn out blue if you do not use a flash or strobe. The deeper underwater you go, the more color is absorbed.
- Many compact cameras nowadays come with internal flashes that can be used to add colors to your underwater photographs.
- Water reduces sharpness, contrast, and color which is why underwater photos should be taken within 1 meter of the camera, preferably much closer. You need to get very close to your subject.
Once you have an underwater camera and a housing, let’s get into the water! But first, make sure that you are comfortable with your buoyancy and diving skills. Before you go underwater, it really helps out to practice with your camera indoors, in a dimly lit room. Take some photographs with the camera inside the housing, in macro mode, with the flash on. Take photos of some small objects, and see how they turn out. Test out the range of the camera with the macro mode both on and off. This is a great method to practice your underwater photography skills, out of water.
Taking a waterproof camera into the ocean is one of the coolest types of photography that you can possibly do. It gives you such a unique viewpoint that few folks experience first-hand with their cameras.
With a few easy tips you can begin to make some great underwater images.
- Use the camera’s underwater mode. Colored light waves do not behave the same underwater as they do above the surface of the water. As you descend, less and less of the colored wavelengths are filtered out. Red is the first to go, then orange and yellow. Without using a flash underwater, your subjects will be bathed in green and blue light. The underwater mode is designed to filter out blue so your images are more representative of the actual color of the objects you’re photographing.
- Get as close to your subject as possible. Underwater, light has to not only travel from the camera to the subject, but also back to the camera to be recorded.
- Use the Macro mode to get even closer to tiny subjects. You’ll be able to photograph corals or other things at very close distances that will make your images look awesome.
- Sometimes it may be hard to tell how large an object is underwater, so it’s great to add a subject that will show the scale of the scene. For example, if you’re taking a picture of a wreck, by adding a diver into the scene, you have now provided the viewer with a sense of the size of the shipwreck. The added subject will also make the photograph more interesting to view.
Using the tips we just went over can really help you hit the ground running with underwater photography. Keep practicing and watch your underwater photos become more amazing each time.


